
YEESH! Time flies when you’re crafting and havin’ fun. As we mentioned a few weeks ago, we are in the process of planning a hot-air balloon themed baby shower. As promised, we will be documenting our DIY process for your viewing pleasure. Up first is an adorable bunting. This little cutie will do double duty, first decorating the shower, and later it will be hung in the nursery. We are so thrilled with the finished product, we can hardly wait to see it in action in July.
Before we get to the nitty gritty deets, here’s a look at our inspiration in case you forgot (we actually like ours better!):
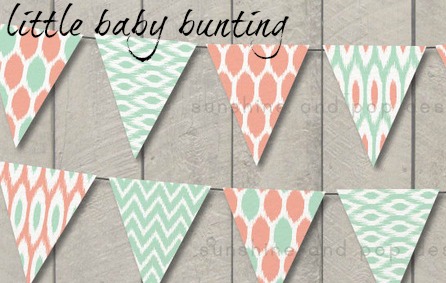
And here is our finished product (how cute!):
 And now for the tutorial…
What You’ll Need:
Fabric or paper in colors and fabrics of your choice, twine, scissors, a stencil (we cut out a triangular shape from a piece of cardboard) and fabric or craft glue, Chalk.
How it’s Done:
Step One: Trace lightly with chalk around the triangular stencil on the fabric or paper (sorry, we don’t have a pic of this, hopefully it’s self-explanatory).
Step Two: Cut out triangles, you will probably need 6 of each color to do two buntings
 Step Three: Cut the twine to the length you want (we measured it across the doorway we wanted to hang it from as shown above)
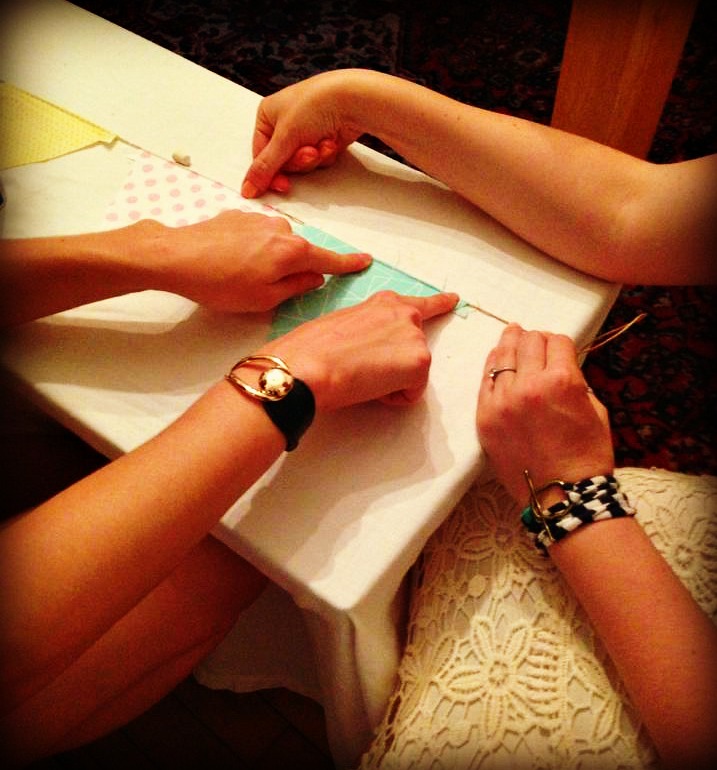
Step Four: Lay out the twine and place triangles where you want them to eventually hang. We did one pattern for one, and then mixed it up with another pattern for the second.
 Step Five: Making sure that the triangles are placed slightly above the twine line, apply a thin line of glue to the backside of the fabric/paper.
 Step Six: fold the fabric over the twine and glue, and press to seal.
 Step Seven: trim the corners near where the fabric/paper is folded over the twine (aaand also no pic of this, but once you get there you’ll see what we mean).
Final Steps: let dry and hang to your hearts delight!
Ta Da!
 Stay tuned for more DIY’s prepping for this adorable shower to come…and of course the finished product probably around the beginning of August.
Happy DIY’ing!
~the DIY bar
